> For the complete documentation index, see [llms.txt](https://courses.prequilt.com/llms.txt). Markdown versions of documentation pages are available by appending `.md` to page URLs; this page is available as [Markdown](https://courses.prequilt.com/old-courses/omaha-mqg-workshop/11-or-add-binding.md).
# 11 | Add binding
## Exercise 11
**11** | *Add binding to your quilt design.*
***Objective*** | To add binding to your quilt design in PreQuilt.
***Did You Know*** | You can also preview your binding using digital fabric swatches.
### 01 | Adding Binding Using Solid Fabric
1. Click on the **BINDING/BORDER** tab on the left side control panel.
* 
2. Select your desired binding width by pressing the **+** button.
* 
3. Using the dropdown menu, select your **binding fabric Fabric Link**. In this example, I used the solid fabric associated with Fabric Link B.
* 
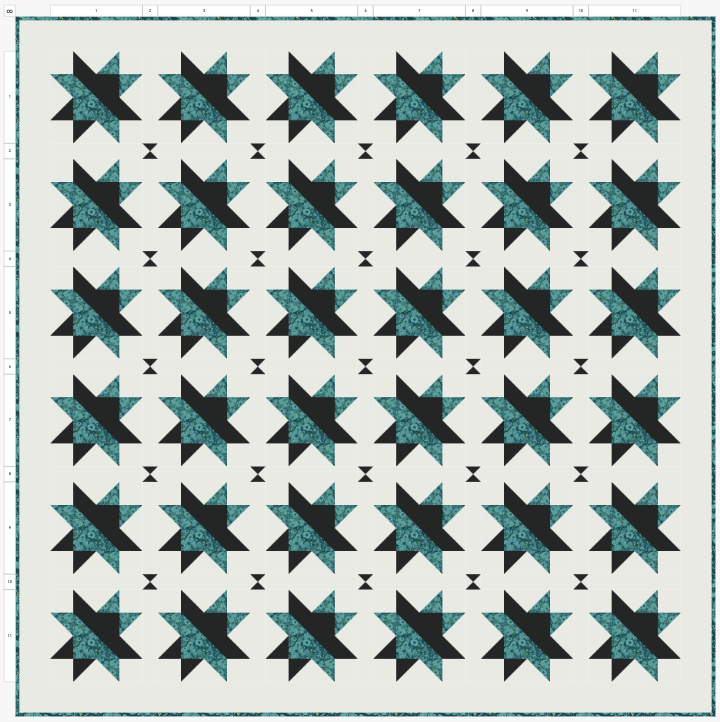
4. Now your quilt has binding!
Binding using solid fabric swatch
### 02 | Adding Binding Using Printed Fabric
{% hint style="info" %} **TIP:** Our newest update now automatically rotates the binding fabric by 90 degrees each time it goes around a corner. So, striped binding can always point toward the quilt. You can also manually rotate the binding fabric.
{% endhint %}
1. Import the digital fabric swatch for your printed fabric.
* See [*Exercise 07 | Use printed fabric*](/old-courses/quiltcon-courses/deep-dive-into-prequilt/07-or-use-printed-fabric.md#01-or-find-and-save-digital-fabric-swatches) for a refresher on how to do this.
2. Click on the **BINDING/BORDER** tab on the left side control panel.
* 
3. Select your desired binding width by pressing the **+** button.
* 
4. Using the dropdown menu, select your **binding fabric Fabric link**. In this example, I used the printed fabric associated with Fabric Link D.
* 
5. Now your quilt has binding using printed fabric!