> For the complete documentation index, see [llms.txt](https://courses.prequilt.com/llms.txt). Markdown versions of documentation pages are available by appending `.md` to page URLs; this page is available as [Markdown](https://courses.prequilt.com/youtube-courses/intro-to-prequilt-course/08-or-sashing/08c-or-blocks-as-sashing-cornerstones.md).
# 08c | Blocks as Sashing Cornerstones
## Module 08c | Blocks as Sashing Cornerstones
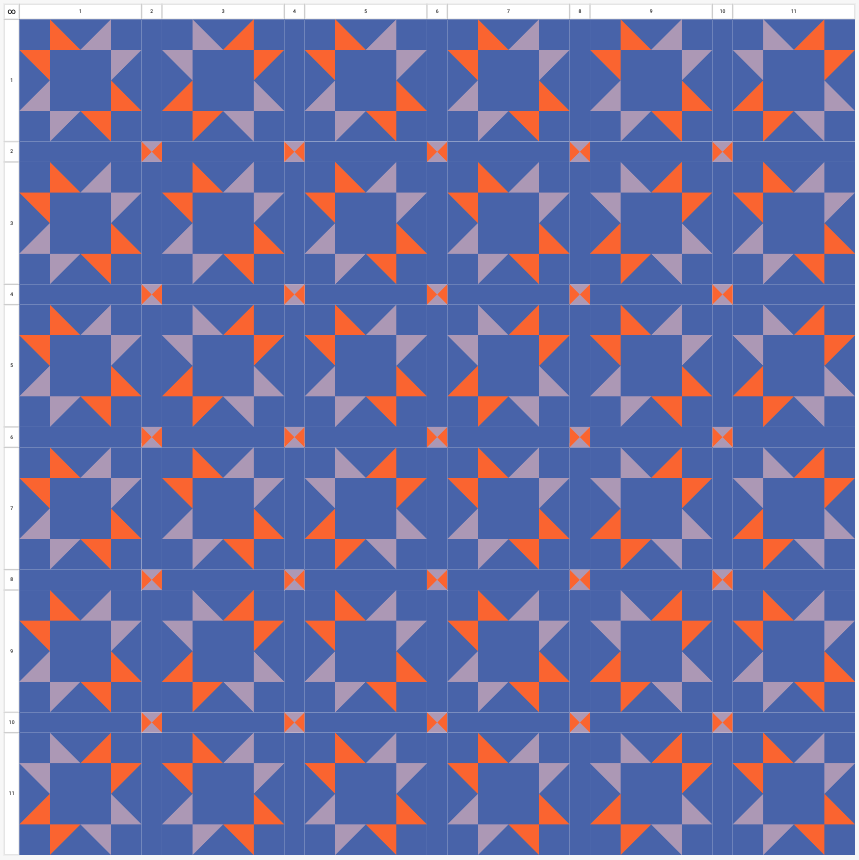
Building off of sub-module 08a, we'll learn how to design a small quilt block and then use it as our sashing's cornerstones instead of one patch blocks in this sub-module.
***
## YouTube Video
{% embed url="" %}
Module 08c: How to Use Blocks in Your Sashing's Cornerstones
{% endembed %}
***
## Help Guide
### Design a Cornerstone Block
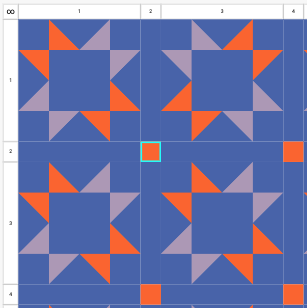
To design a small cornerstone block:
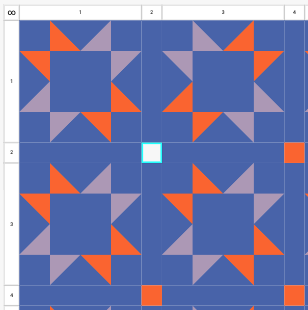
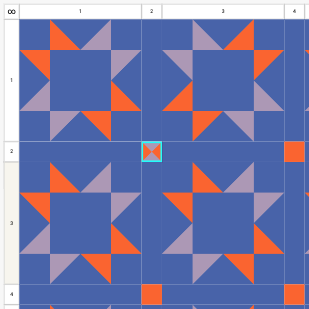
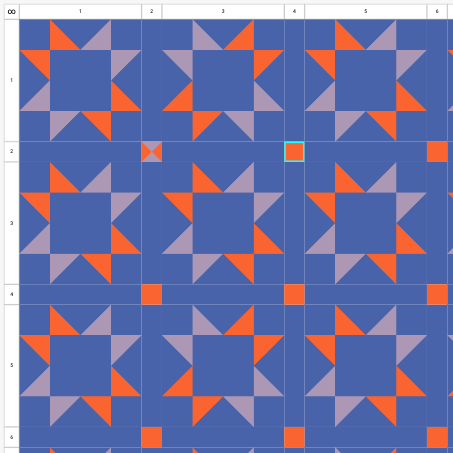
1. Click on **one of the One Patch cornerstones block cells** to select it and click on the **delete button** on your keyboard to remove it from the quilt grid.
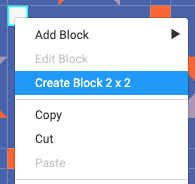
2. With the cornerstone still selected, **right click** and select **Create Block 2x2**.
* NOTE: When you create a block this way, the dimensions of the block cell will always be noted after the 'Create Block' copy.
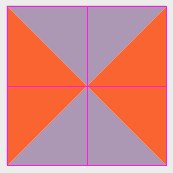
3. **Design a custom block** of your choosing (see [*Module 02*](/youtube-courses/intro-to-prequilt-course/02-or-custom-quilt-blocks.md) for a refresher).
4. Once you save your custom block to the quilt, it will automatically be placed on your quilt grid as well as in your BLOCKS tab.
### Use Designed Block as a Cornerstone
To place this block in all the cornerstones:
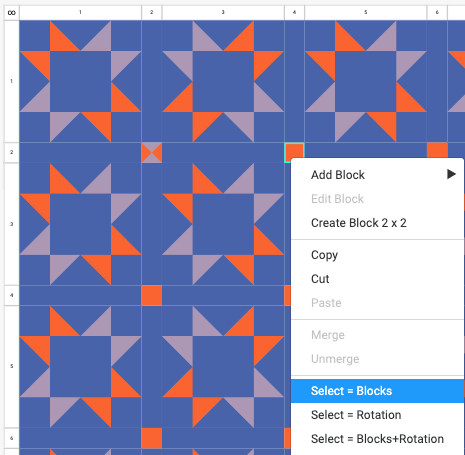
1. Click on **one of the One Patch cornerstones block cells** to select it. Then **right click** and select **Select = Blocks** from the dropdown.
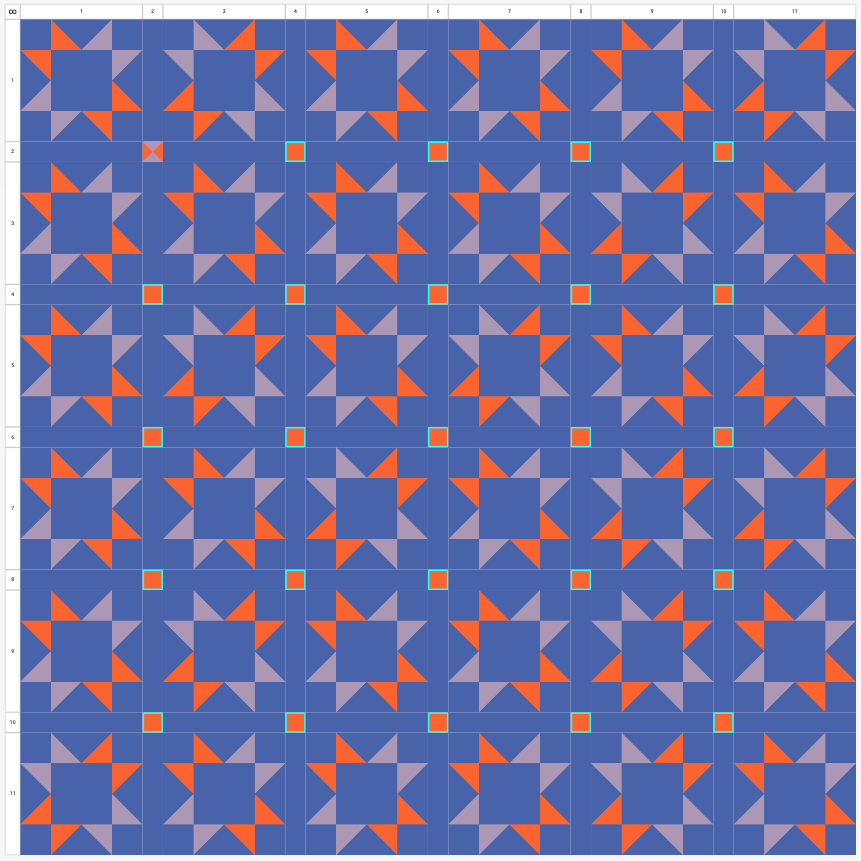
2. This will select all of the blocks that are the same as the One Patch cornerstone.
3. Click on the **BLOCKS tab** on the left side control panel.
4. Click on the **Add to Quilt button** for our newly designed cornerstone block. In this example, it's called QST.
5. You will now see that all the orange One Patch cornerstone blocks have been replaced by the QST block that we designed.